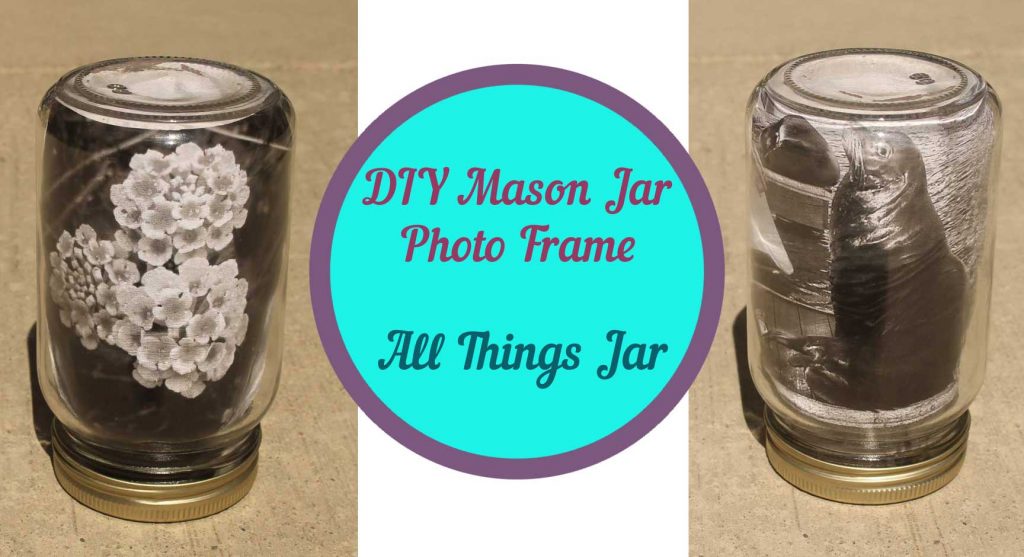
Have you seen all of those tutorials floating around for mason jar photo frames? I have been seeing a lot that include things like filling the jar with oils or attaching the photos with Mod Podge.
While these look pretty nice, I started thinking:
What if you still want to be able to change out the photos in the frame? What if you want something quicker, easier, less messy, and with fewer supplies?
What if you simply want a replacement for a store bought frame? Something you can make in just a few minutes with no mess and using supplies you already have?
Our version of the mason jar photo frame is quick and easy to make. It uses only a few supplies, you can swap out the photos whenever you wish, and best of all: it is double sided so you can display two photos at once.
Supplies
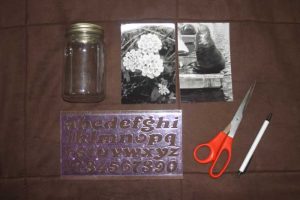
1–pint (16 oz.) smooth sided mason jar
2–4″x6″ photos in portrait format which can be cropped to approximately 4″x5.25″
Ruler (just a regular one–no need for the fancy stencil one I have here)
Pen
Scissors
Instructions
Ensure jar is clean and dry.
Insert one of the photos into the jar to check the fit and decide if you want to crop the bottom, the top, or both ends.
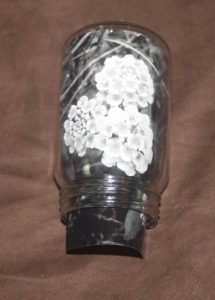
For this photo, I decided to crop both the top and bottom.
I used my ruler and pen to mark a crop line on the top of the photo.
After trimming the top, I re-inserted the photo into the jar.
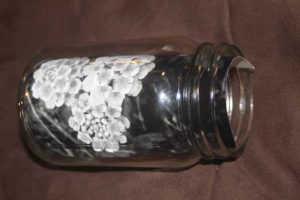
The bottom of the photo should be cropped just short enough that the lid can be reattached.
While the photo is in the jar, use your pen to mark the bottom crop line, then cut just inside that line.
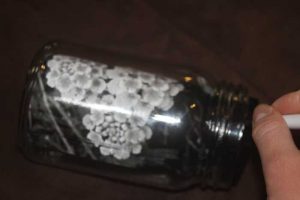
Now that the first photo fits nicely in the jar, it can be used as a template for the second photo.
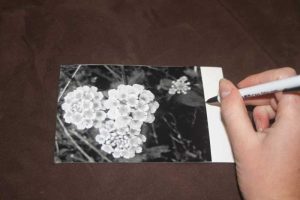
Simply remove the first photo from the jar and lay it on top of the second photo.
Anything not covered up by the first photo will be cropped off, so be sure of your placement.
Draw your crop line and trim the second photo to size.
Place both photos in the jar and reattach the lid to complete your frame.
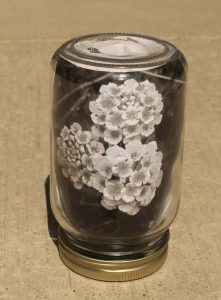
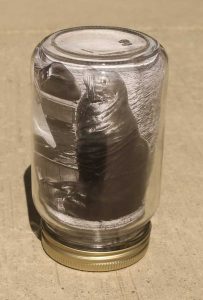
Enjoy, and remember–there’s a jar for that.
